
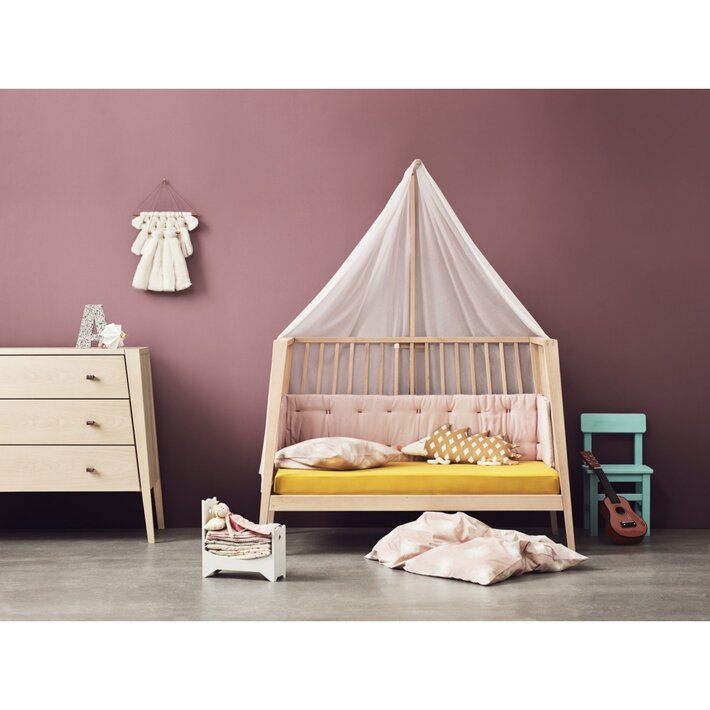
The metal bed canopy frame is the one we most often use to support baby crib canopies. It’s high time that changed! Here we’ll show you how to easily and quickly make a wooden baby crib canopy frame. The process will take place in two stages. First, we’ll list the necessary materials. Then we’ll move on to the assembly/DIY part.
The final result will add a touch of magic to your child’s room’s overall decor. Let’s get started!
The Equipment
- screws
- a screwdriver
- a set square
- a drill
- a batten between 1.50 m and 1.75 m (main vertical part)
- a small 30cm batten (horizontal part for attaching the bed canopy)
- and two small cubes or wooden boards to hold the arrow on the cradle
You should already have most of the materials at home, but if you’re missing one or two items, don’t panic; you can find what you need online for cheap. You can also use old wooden planks and recycle them for this bed canopy.
The Editing
Before anything else, don’t hesitate to sand your wooden battens so that no splinters can hurt anyone.
Paint them as well if you don’t like the original color of the wood.
Next, take these two pieces of wood and your square.
Assemble these three elements by screwing them together.
This will form your bed rail, therefore a perpendicular assembly
Finally, secure your bed canopy by attaching it to the headboard.
To do this, use the two wooden planks you have left.
Glue these two small boards to the cradle with the arrow in the middle and screw everything together carefully to avoid any damage.